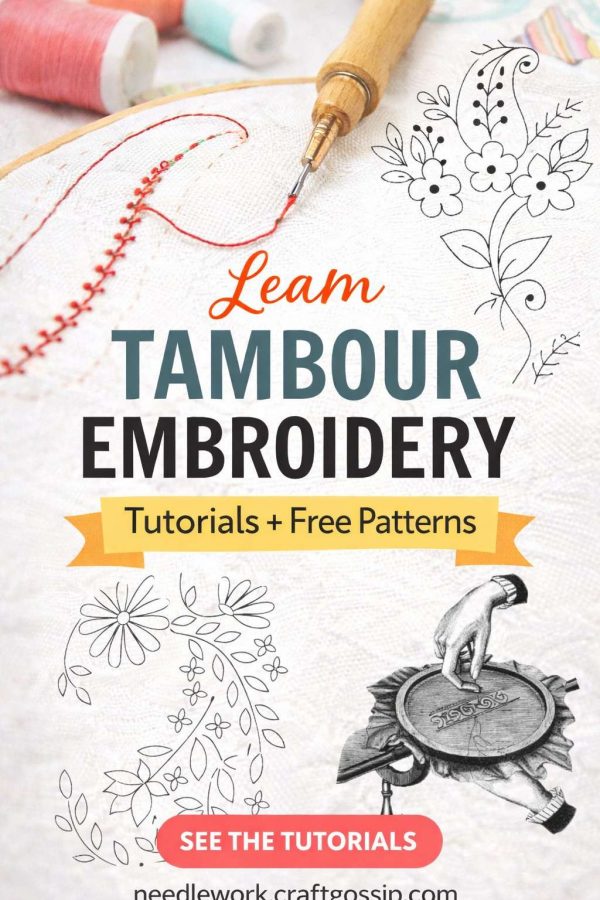
Have you ever seen an intricate design elegantly embroidered onto fabric and wondered how it was done? The art of hand embroidery has been around for centuries and is a beautiful way to add detail and texture to any fabric. Tambour hand embroidery is one of the most popular techniques in the world of hand embroidery, and this step-by-step guide will provide you with everything you need to know to get started. From the basics of threading the needle to selecting the perfect fabric, this guide will help you create your own stunning tambour hand embroidery pieces. You don’t need any prior experience with hand embroidery to get started, making it a great way for anyone to learn a new craft. So, grab your supplies and get ready to explore the wonderful world of tambour hand embroidery.
What is tambour hand embroidery?
Tambour embroidery is a hand embroidery technique that involves stitching on fabric that has been stretched over a frame. The fabric is stretched tightly, leaving a flat surface ideal for stitching. Tambour hand embroidery is also known as canvas work, and the frame used to stretch the fabric is commonly referred to as a tambour. The tambour frame can be made of wood, plastic, or even aluminum, and while it may seem like a daunting piece of equipment to use, it’s actually quite simple once you get the hang of it. The tambour hand embroidery technique is named after the tambour frame because the frame acts as the thread path. The tambour frame is used to create a stable and smooth surface that is ideal for stitching. The frame can be adjusted so that the fabric is stretched tightly, making it easier to create the stitches. The tambour frame also provides the thread path, so all you have to do is place the fabric inside of it, secure it, and start stitching.
Gather your supplies
The supplies you need for tambour hand embroidery will depend on the design you want to create. Before you start stitching, make sure you have everything you need to ensure your project goes smoothly. Here are the supplies you should have on hand: Fabric – You can stitch on any type of fabric, but you should choose a fabric that is easy to work with. If you’re new to hand embroidery, start with a fabric that is lightweight and easy to manipulate. Once you get more comfortable with the process, you can move onto more challenging fabrics. Embroidery thread – The type of thread you use will depend on the look you’re going for and the fabric you’re stitching on. You can use a variety of thread types, including wool, cotton, and silk. A heavier thread will be more durable, while a lighter thread will be easier to work with. Fabric marker – You can use a fabric marker to mark where you want to stitch. This is especially helpful if you’re stitching on heavy fabric. Scissors – You’ll need scissors to cut your fabric and thread. A pair of sharp embroidery scissors is ideal for cutting fabric. Fabric pencil – If you’re stitching on fabric that isn’t very thick, a pencil will allow you to sketch your design. Hand loom – A hand loom is helpful if you want to create designs that have multiple colours. You can use a loom to weave your thread to create specific designs.
Threading the needle
One of the first steps in tambour hand embroidery is threading the needle. Before you start stitching, you’ll want to make sure your thread is properly threaded. To thread your needle for tambour hand embroidery, follow these steps: Loosen the thread by pulling it away from the spool. Uncoil about a 6” length of thread, and then wind it around your thumb and index finger about 10 times. Secure the thread by tying it around your middle finger. Place the thread between your thumb and index finger, and then carefully push the thread through the eye of the needle. Once you’ve threaded the needle, pull the thread through so it comes out the end of the thread. You don’t want the thread to be too long, so cut it so it’s a few inches shorter than your arm length.
Choosing the right fabric
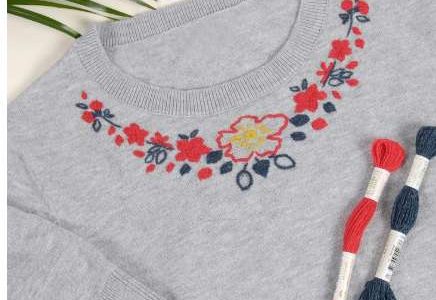
When choosing the fabric, you’ll want to consider the type of stitch and the look you’re going for. You should also take the fabric type into account, as certain fabrics are easier to work with than others. Here are a few fabric types to consider when choosing fabric for tambour hand embroidery: Cotton – Cotton is a popular fabric for hand embroidery, and it’s ideal for beginners. It’s also a good choice if you’re stitching on heavy fabrics, as it’s durable and easy to work with. Silk – Silk is a luxurious fabric that is easy to stitch on. It’s a good choice for a project that you want to be extra special. Wool – Wool is a sturdy fabric that is perfect for heavy fabrics. It’s also easy to work with, making it a great choice for beginners.
Embroidery hoops
If you’re using a hoop while tambour hand embroidery, you’ll want to make sure it’s properly secured to the tambour frame. To secure the hoop, follow these steps: Place the hoop on the frame so that half of it is inside the frame. Tie the ends of the hoop together with a piece of thread so it stays in place. You should tie the threads so they are on opposite sides of the hoop. This will prevent the hoop from moving around while you’re stitching. If you’re using a smaller hoop, you can secure it in the tambour frame by placing the hoop over the frame and pressing down until it’s secure. If you’re using a larger hoop, you may need to use a hoop frame to keep the fabric taut.
Basic stitch techniques
There are a few different types of stitches you can use while tambour hand embroidery, but you’ll want to use stitches that are durable and easy to work with. Here are a few stitch types to consider: Buttonhole stitch – This stitch is great for creating texture and is a simple stitch to master. Backstitch – A backstitch is a strong stitch that can be used to outline designs. Running stitch – A running stitch is a basic stitch that is easy to master.
Creating a design
If you’re stitching on a fabric that is white or light-coloured, you may be able to skip this step. But, if you’re stitching on a fabric that is darker, you may want to sketch out your design first. This will help you create a pattern and make the stitching process easier. First, sketch your design on paper so you have an idea of where everything goes on the fabric. Then, use a fabric marker to transfer your design onto the fabric. This will make it easier to stitch. If you’re stitching on a dark fabric, you can use tracing paper to create your design. This will also help you create a pattern.
Finishing your project
Once you’ve reached the end of your stitching, you’ll want to secure the loose threads so they don’t unravel. Use a couple of weaving stitches to secure the loose threads, and then cut off the excess thread. If you’re stitching on a garment, you may want to use a few stitches to tack down the fabric to prevent it from sliding. This is especially true if you’re stitching on a jacket or coat. You can also choose to finish your project by adding beads or sequins to your stitches. This will add a decorative touch to your design and make it extra special.
Caring for your embroidery
The best way to care for tambour hand embroidery is to frame it and hang it on the wall. Keep in mind that framed pieces are best displayed away from direct sunlight. If you’re not ready to frame your piece, you can also place it in a fabric or embroidery hoop to protect it while you decide what to do with it. You can also store your pieces in a fabric bag to protect them from dust and debris.
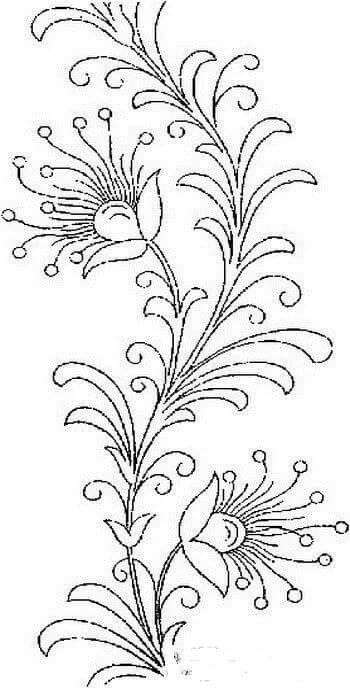
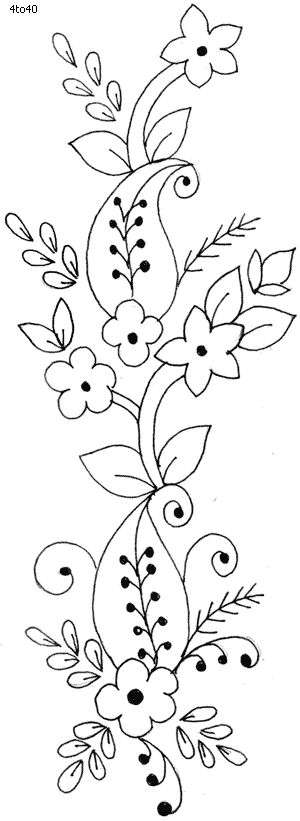
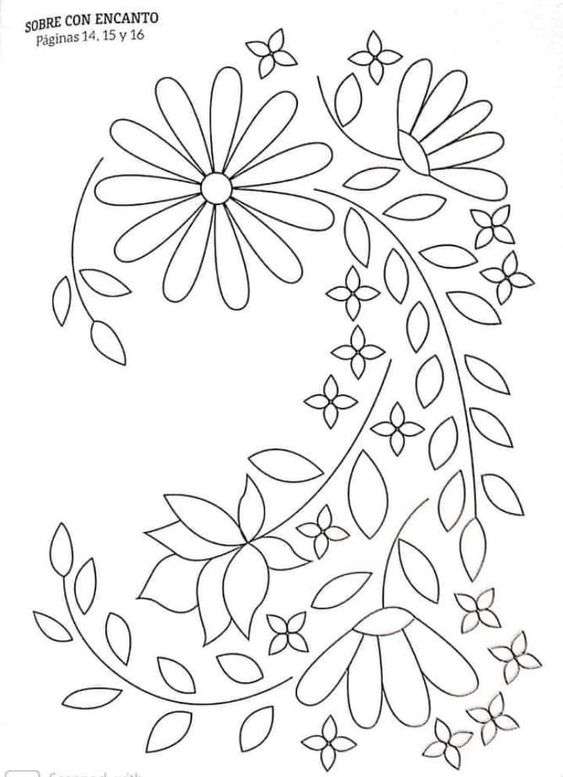
Tambour Embroidery Patterns on Etsy
Free Hand Embroidery Pattern: Sprouting Floral
Tambour embroidery project for beginners | Luneville embroidery
Caroline Homfray presents a tutorial on casting on and casting off in tambour embroidery and how to achieve the basic stitch
Tambour embroidery tutorial – Setting up a tambour hook. Tambour embroidery for beginners. Caroline Homfray presents a tutorial on setting up a tambour hook and also gives a quick explanation of the types of thread that can be used with each of the 3 sizes of hook
Tambour embroidery stitches in different directions. Caroline Homfray presents a tutorial on stitching in different directions in tambour embroidery.
Tambour embroidery project for beginners | Luneville embroidery In this video Caroline Homfray stitches a simple project suitable for beginners.
More Tambour Embroidery articles
What is Tambour Beading? A Potted History from Hand & Lock
Tambour Embroidery How-to Video: The Basic Stitch – NeedlenThread.com
Leave a Reply