
Embroidery has long been revered as a timeless art form, weaving intricate designs with threads and needles. However, for beginners or those with limited time, the process of tracing patterns onto fabric can seem daunting and time-consuming. Enter Stick and Stitch, a game-changing innovation in the world of embroidery that promises to simplify the stitching process without compromising on creativity. In this comprehensive guide, we’ll delve into what Stick and Stitch is and how you can harness its power to elevate your embroidery game effortlessly.
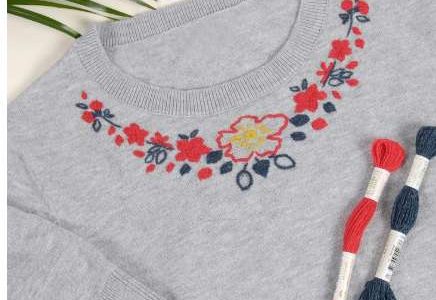
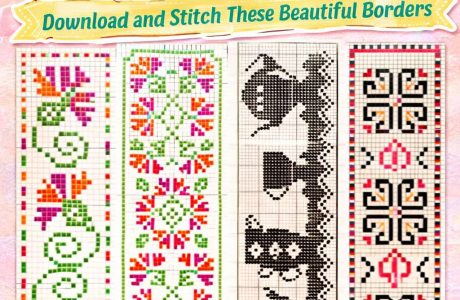
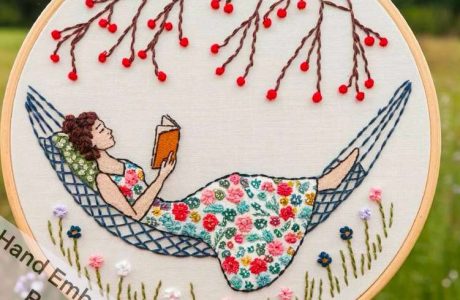
Stick and Stitch, also known as pre-printed embroidery patterns, revolutionizes traditional embroidery by eliminating the need for tracing designs onto fabric. Instead of painstakingly transferring patterns onto your project surface, Stick and Stitch offers pre-cut patches with adhesive backing, ready to be affixed directly onto your desired surface. These patches feature intricate designs crafted by skilled artisans, ranging from floral motifs to geometric patterns, ensuring a diverse array of options to suit every taste and project.
How to Use Stick and Stitch: A Step-by-Step Guide
Using Stick and Stitch couldn’t be simpler, making it an ideal choice for beginners and experienced stitchers alike. Follow these easy steps to unlock the full potential of Stick and Stitch in your embroidery projects:
- Prepare Your Materials: Gather your Stick and Stitch embroidery pack, fabric of choice, embroidery hoop, needle, and thread. Ensure your fabric is clean and free from wrinkles for optimal results.
- Select Your Design: Browse through your Stick and Stitch pack and select the desired design for your embroidery project. Whether you’re drawn to floral elegance or whimsical motifs, there’s a design to suit every preference.
- Peel Off the Backing: Carefully peel off the backing of the Stick and Stitch patch to reveal the adhesive side. Take care not to damage the intricate design during this process.
- Place the Patch: Position the Stick and Stitch patch onto your fabric, ensuring it is aligned correctly with your desired placement. Press down firmly to adhere the patch securely to the fabric surface.
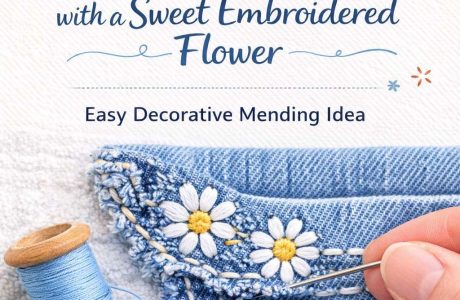
- Stitch Away: Once the patch is firmly in place, it’s time to unleash your creativity! Use your preferred embroidery stitches to outline and fill in the design, adding depth and dimension to your project.
- Remove the Paper: Once you’ve completed your stitching, gently moisten the fabric to dissolve the paper backing of the Stick and Stitch patch. Rinse under warm water until all remnants of paper are removed, leaving behind only your beautifully embroidered design.
- Enjoy Your Masterpiece: Allow your fabric to dry completely before displaying or incorporating it into your desired project. Admire your handiwork and bask in the satisfaction of creating a stunning piece of embroidered art with ease.
Embrace Effortless Embroidery with Stick and Stitch
Embroidery is a timeless craft that allows for boundless creativity and self-expression. With Stick and Stitch, the process becomes more accessible than ever, empowering beginners and seasoned stitchers alike to embark on embroidery projects with confidence and ease. By simplifying the tracing process and offering a diverse range of pre-printed designs, Stick and Stitch opens up a world of possibilities for embroidery enthusiasts of all levels. So why wait? Dive into the world of Stick and Stitch today and discover the joy of effortless embroidery!

Leave a Reply